싱글 페이지에 들어갈 파일을 Admin에서 업로드할 수 있도록 구현해보겠습니다.
from django.db import models
from django.contrib.auth.models import User


# Create your models here.
class FileUpload(models.Model):
    title = models.CharField(max_length=30, null=True)
    file_upload = models.FileField(upload_to='about_me/files/%Y/%m/%d', blank=True)

    author = models.ForeignKey(User, null=True, on_delete=models.SET_NULL)

    create_date = models.DateTimeField(auto_now=True)

    def __str__(self):
        return f'[{self.pk}]{self.title} :: {self.author}'
일단 single_pages > models.py에 다음과 같이 모델을 구현합니다.

null=True를 부여하지 않을 경우에 위와 같이 에러(It is impossible to add a non-nullable field 'title' to fileupload without specifying a default. This is because the database needs something to populate existing rows.)가 발생할 수 있으니 꼭 넣어줍니다.
from .models import FileUpload

admin.site.register(FileUpload)
만든 FileUpload 모델을 admin.py에 추가합니다.
$ python manage.py makemigrations
$ python manage.py migrate
$ python manage.py runserver
마이그레이션 후 서버를 실행합니다.
admin 페이지에 접속하면 Single_pages에 file uploads가 생긴 것을 확인핼 수 있습니다.
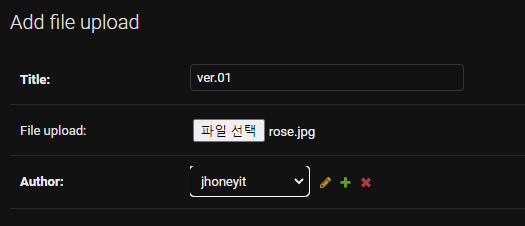
파일을 추가해보겠습니다.
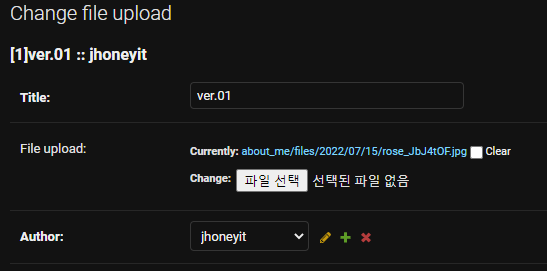
정상적으로 파일이 추가된 것을 확인할 수 있습니다.
그럼 이 파일을 single_pages에 띄워보도록 하겠습니다.
def about_me(request):
    file = FileUpload.objects.all()
    if file:
        file = FileUpload.objects.all().order_by('-create_date')[0]

    return render(
        request,
        'single_pages/about_me.html',
        {
            'file': file
        }
    )
views.py에 models.py의 FileUpload 결과를 object로 모두 받아옵니다.
받아온 objects를 file로 주고 첨부된 파일이 없는 경우 out of length 에러가 발생할 수 있으므로 조건을 추가해줍니다.
그리고 order_by로 생성일을 기준으로 정렬합니다.
create_date 앞에 '-'이 있으면 내림차순, 있으면 오름차순입니다.
즉, 위에서 최근 파일을 가져와 file로 선언해줍니다.
{% if file.file_upload %}
    {% if user.is_authenticated and user.is_staff %}
        <a href="{{file.file_upload.url}}" class="btn btn-outline-dark" role="button">Download Portfolio</a>
    {% else %}
        <span class="d-inline-block" tabindex="0" data-toggle="tooltip" data-placement="bottom" title="권한 없음">
            <button class="btn btn-outline-dark" style="pointer-events: none;" type="button" disabled><i class="bi bi-file-earmark-person"></i> Download Portfolio</button>
        </span>
    {% endif %}
{% endif %}
about_me.html에서 원하는 위치에 불러온 첨부파일 버튼을 추가합니다.
저는 is_authenticated와 is_staff를 이용해 staff 권한을 가진 유저가 로그인한 경우에만 버튼이 활성화 되도록 설정했습니다.


권한이 없는 경우 업로드한 파일을 다운로드할 수 없도록 처리된 것을 확인할 수 있습니다.
'Python > Django' 카테고리의 다른 글
| Django 이미지 업로드 및 출력하기 (0) | 2022.07.29 |
|---|---|
| Django kakaotalk 로그인 api 적용하기 (0) | 2022.07.28 |
| Docker 실행 시 이미지 안 뜨는 문제 (0) | 2022.07.14 |
| Django 로그인 시 CSRF 에러(CSRF verification failed. Request aborted) (0) | 2022.07.12 |
| docker 실행 시 nginx 에러 (0) | 2022.07.12 |


